I’ve had this monitor for nearly 10 years and its been a great, reliable monitor. Its even fallen off a desk and still kept working. Hover, not too long ago it started to develop a fault where it would not turn on. Power would be applied, the light would come on, the LCD panel would flicker, some crackling noise would be heard and it would switch off. After some retries it would sometimes eventually come on and work, however this worked less and less as time went on. Following some research I found a thread on EServiceInfo which made some suggestions, one being the dreaded bad caps issue – where a capacitor will leak and fail in the power supply.
This monitor was working as my second screen, and being the older 4:3 (square-like) aspect ratio it wasn’t suitable as a main monitor anymore, but still useful as a second screen and worth a quick look at least. And if things didn’t work out, then time for an upgrade.
NOTE – ALWAYS REMOVE THE POWER BEFORE OPENING !!!
Opening up the case was not too much trouble, screws around the screen from the back, with some hidden under the stand hinge. To get those last ones, you need to remove the stand, then the 2 plastic hinge covers, remove the hinge screws then you can get at the final case screws.
Once inside the plastic, there is the metal shielding, again not too hard to remove, but do not forget to unscrew the hex bolts for the VGA and DVI connectors as these go through the shielding and hold it on as well.
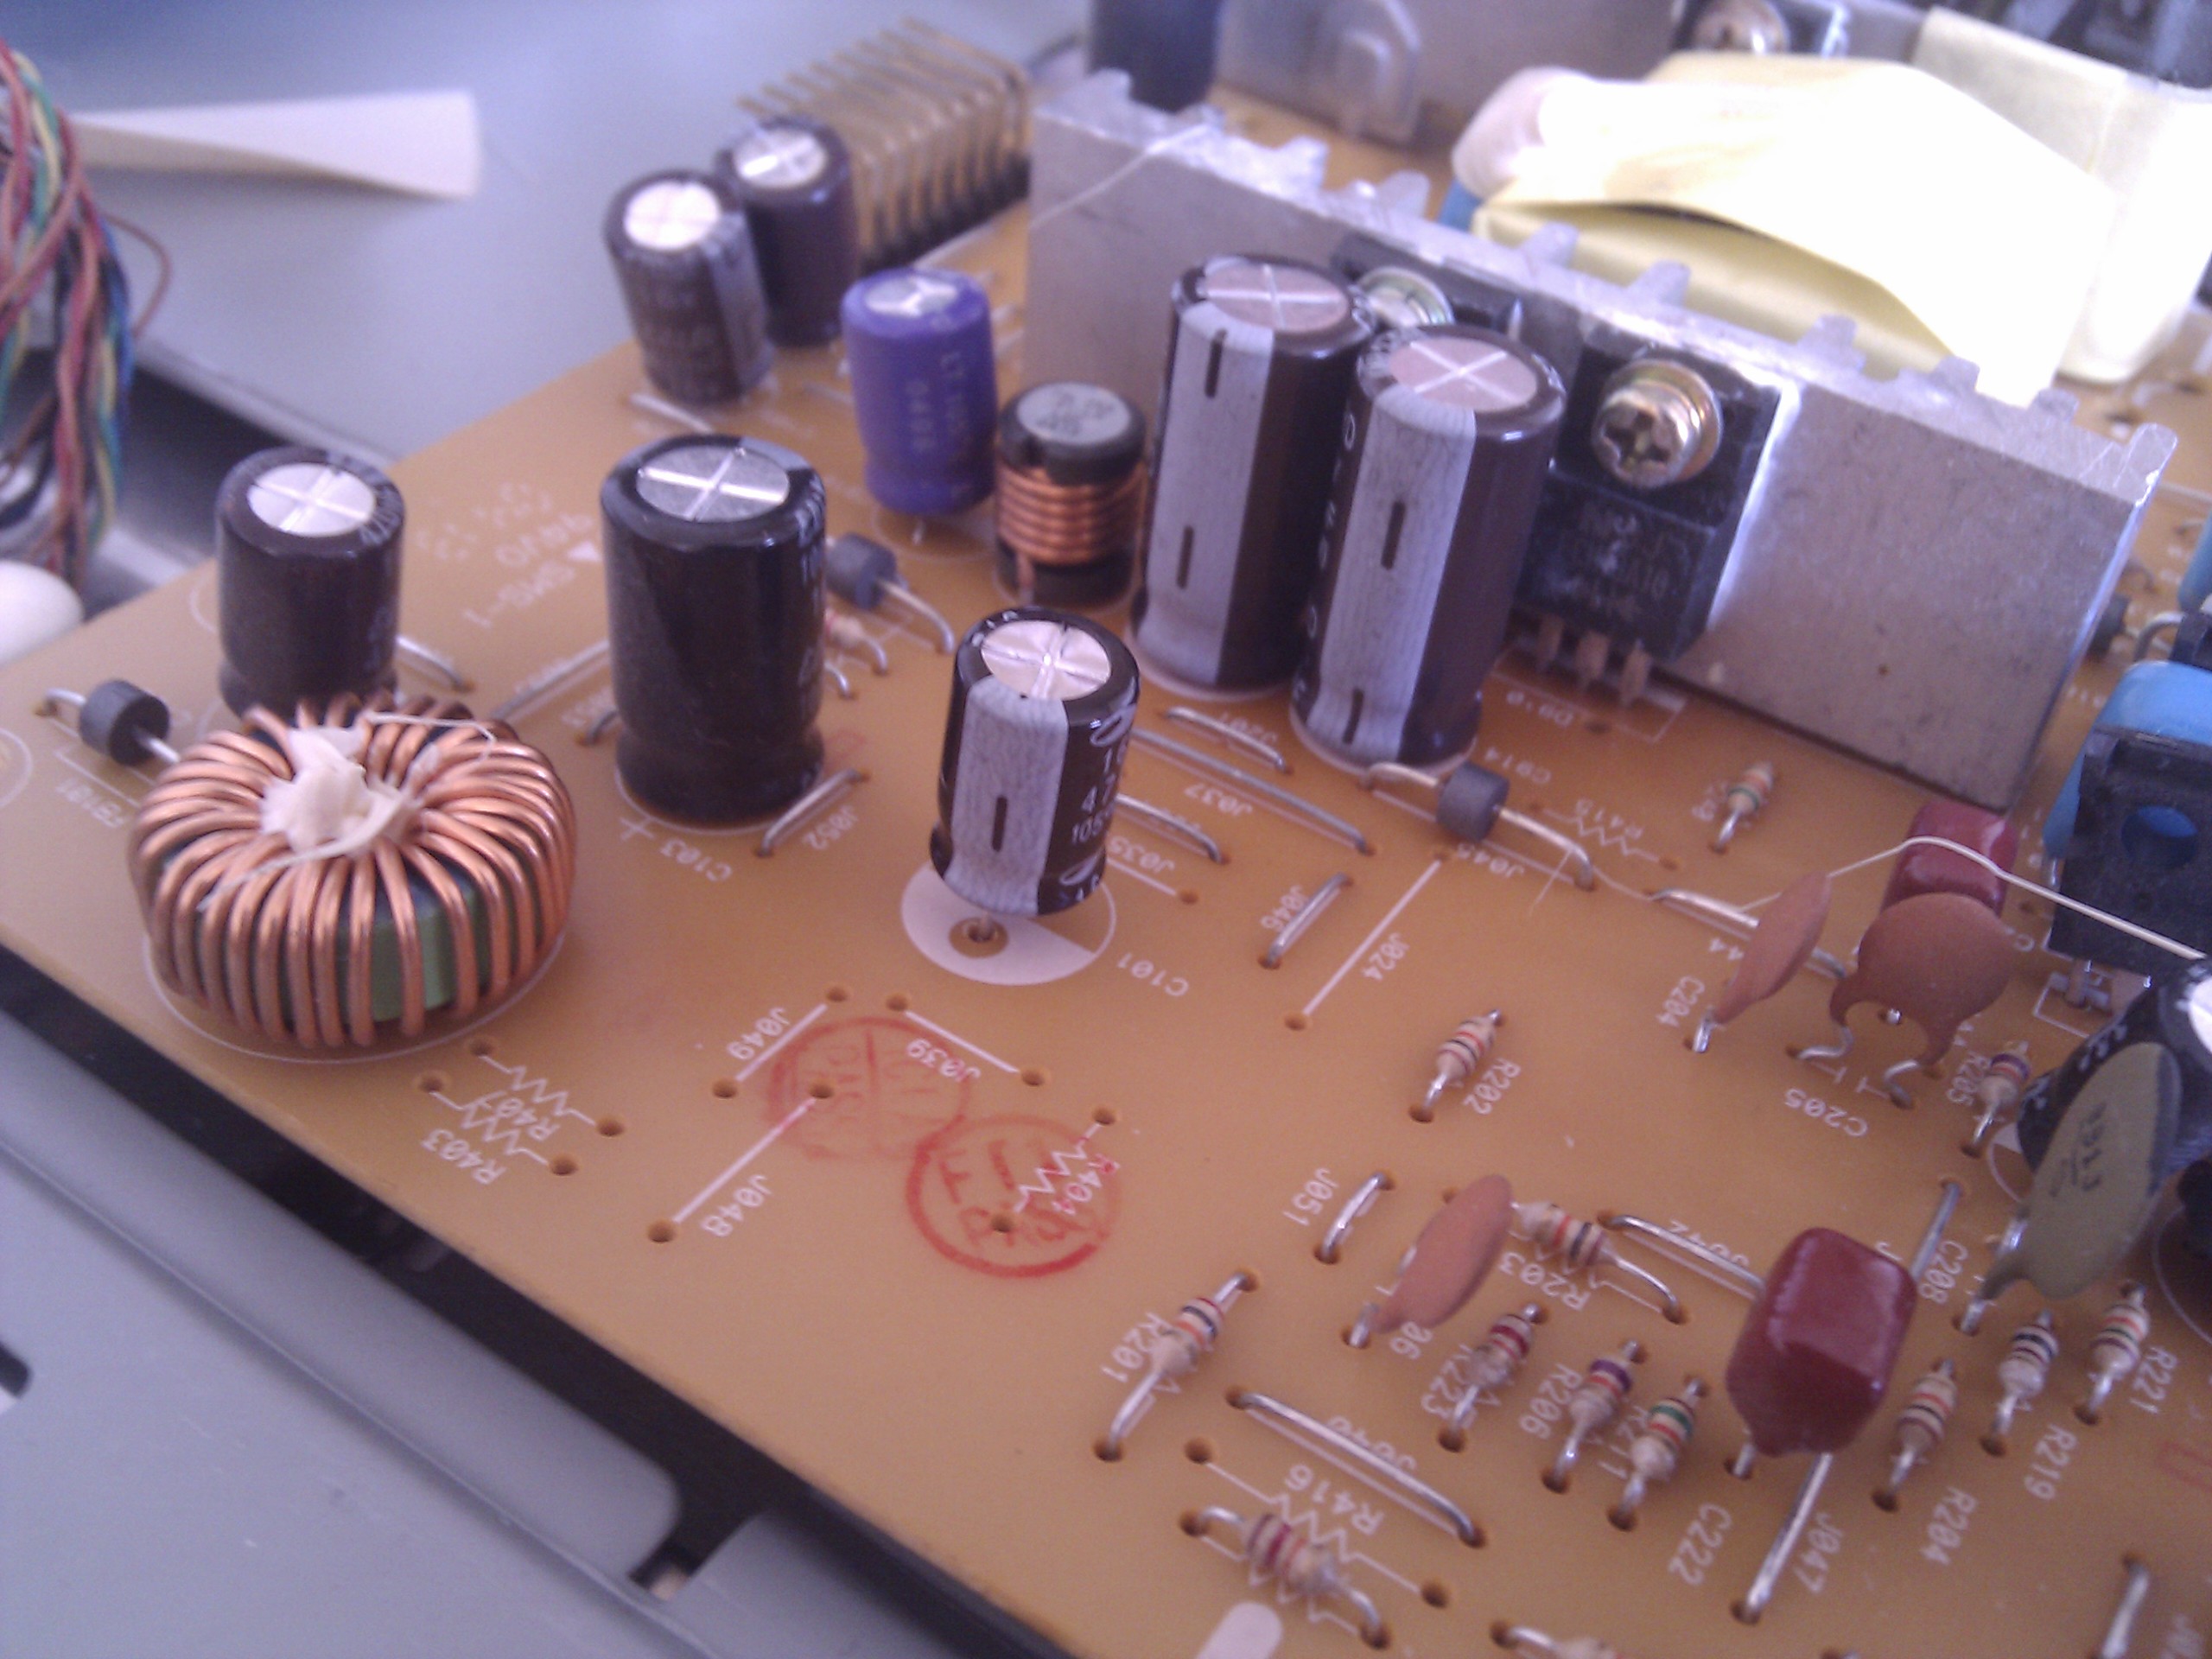
The power supply board is yellow single layered board and the green board is the display board.
NOTE – be careful when poking around the power supply, as some charge might remain even when powered off. Check around the board and look for any capacitors that are either bulging or have a brown residue leaking from them. Mine has 3 that had failed as shown below.
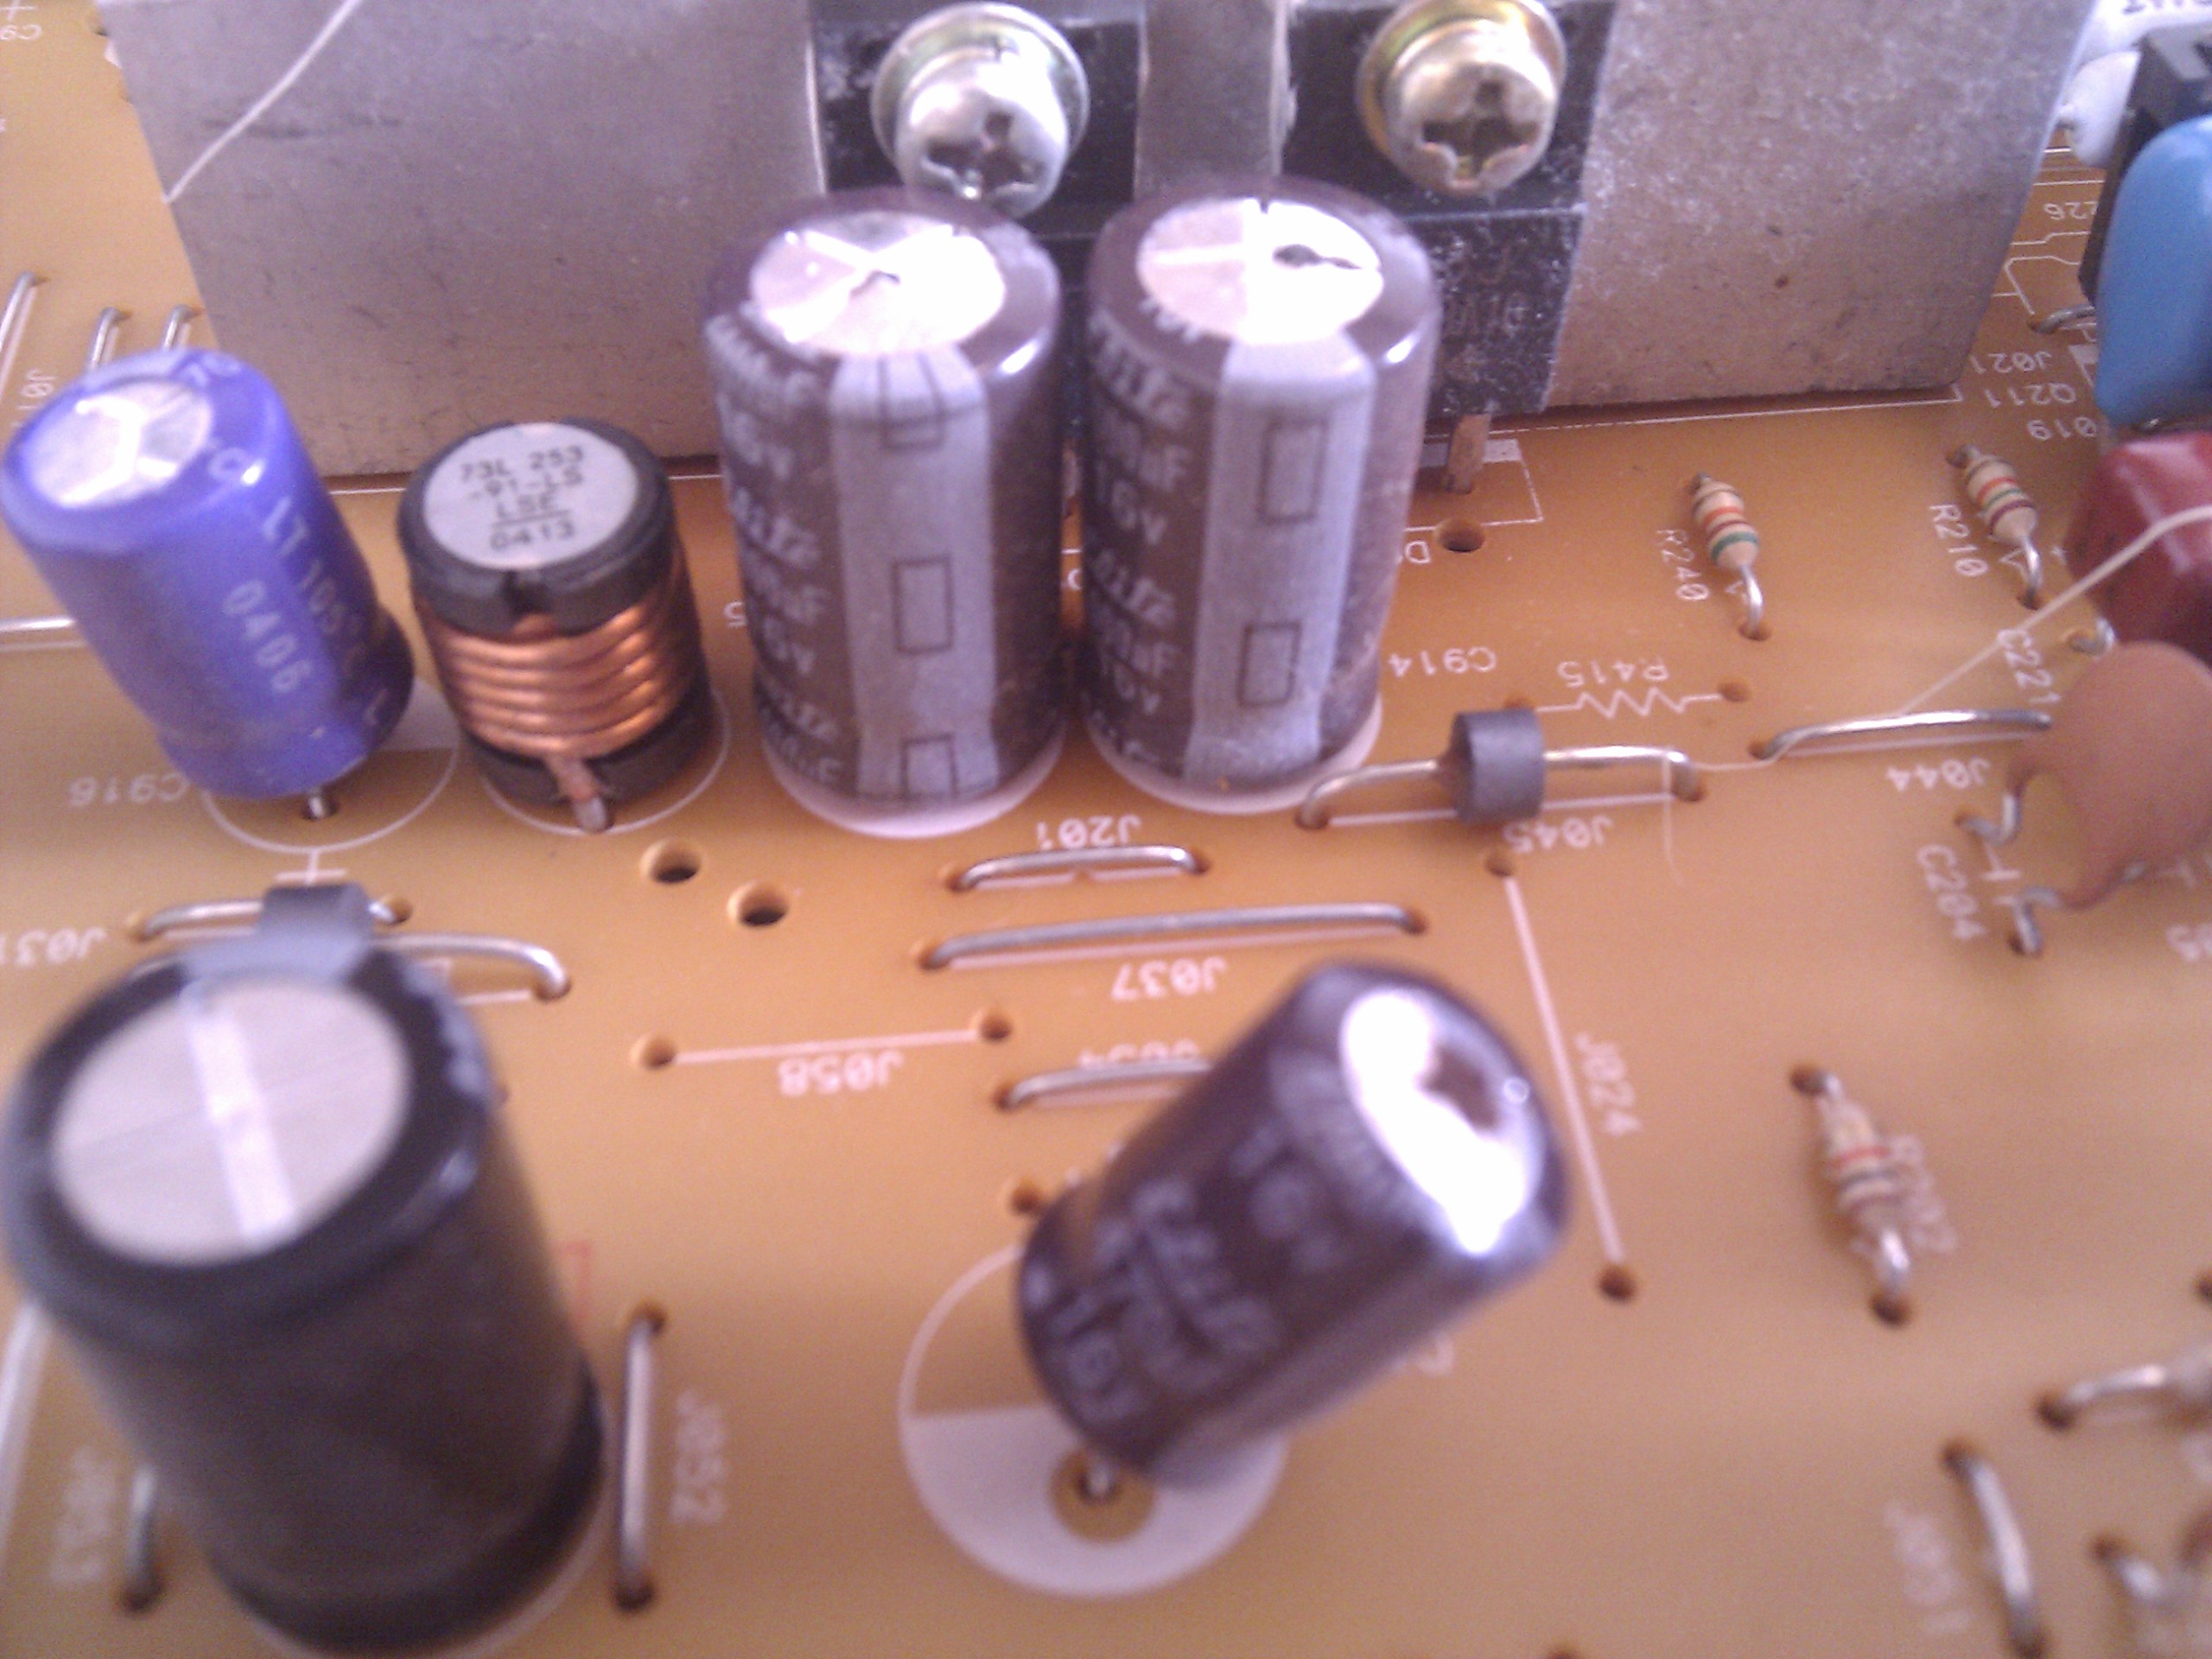
I ordered some replacements from Maplin, including postage it was under £5 and it arrived quickly. Its important to get the same capacitance as what is already on the board, but the voltage can be higher (it must not be lower however).
The easiest way to remove the old ones would be to heat up the solder on the reverse of the board and take it off with solder wick. I didn’t have any at the time so I used the harder method of heat up one pin, rock it to one side pulling out the hot pin and then heat the second pin and pull it out. On a board like this is not much of an issue. I then put in the replacements, making sure to put them in the right way.
I decided to place the lower capacitor in straight unlike the factory had done, although I did maintain the separation from the board. Sometimes a gap is done to aide in cooling or reduce resonance/vibration, although I’m not sure if that’s the intended case here, and may simply have been down to the pin spacing. Ideally the 2 taller caps should not be placed next to a heat source as it can dry out the capacitor and may have been the reason for the previous failure. The previous ones lasted some 10 years, so I’m not worried.
Before testing, I replaced the metal shielding – it is a good habit to do this especially if your new to electronics, as a simple mistake in putting them in the wrong way around will likely cause them to explode, having a nice piece of metal to take that hit instead of your face is a good safety measure. Dave at the EEVBlog has some nice shots in this video here.
A quick test and the monitor comes on straight away, no cracking or hissing noises and shows the menu fine. Powered off again, and completed the re-assembly of the outer case and the stand. About a month later I was given a 27 inch LED monitor which is now my second screen. I still use the repaired Prolite, its now used with my old Amiga A500 which has been fitted with an Indivision VGA adapter and looks great.