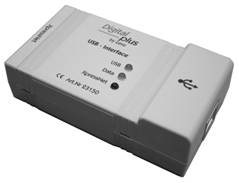
The Lenz LI-USB is the USB interface for the Lenz Digital Plus Train / Model Railroad Layout control. The idea is to allow computer control of your model railway.
Lenz however have only ever released very primitive software and drivers which only work on Windows XP. As Windows XP support ends in April 2014, and because I don’t wish to run a separate computer with XP, I decided to make this guide. The frustration I experienced in getting this device to work, with their official software and drives caused me to do things the JMRI way.
Firstly, ignore everything that Lenz says or gives you, forget the CD / drivers or software. Its not required, and JMRI will provide a much better method anyway.
Step 1 – Download Drivers
Get the FTDI VCP Chip drivers from here. You want the Windows Certified Driver in the ZIP file, at the time of writing it was version 2.08.30. For Windows 8 64 bit, you want this one. Download it, and extract the folder to some place where you can find it.
Step 2 – Attach the Hardware
Attach the LI-USB to your Lenz kit, power and layout. Plug in the USB cable to your PC.
Step 3 – Open Device Manager

Open up Device Manager, you can do this by right clicking on the start button.
Step 4 – Driver Install Part 1
Your device manager should show the LI-USB as having a problem (it has no driver) as below:
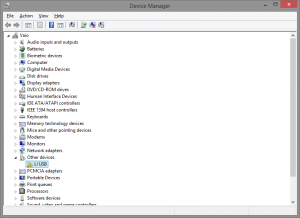
Open the properties by double clicking on the LI-USB and click update driver.
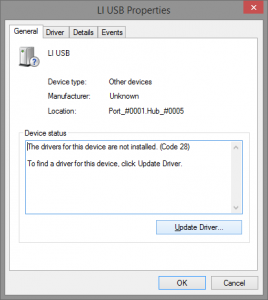
Choose Browse my computer for driver software.
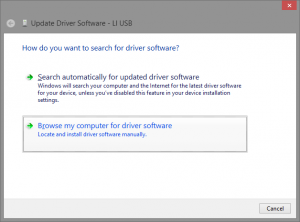
Choose Let me pick from a list…
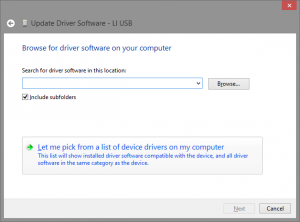
Choose Show All Devices and press Next.
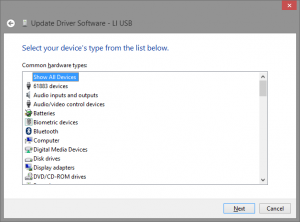
Windows will then list all of its drivers it has, ignore those and press ‘Have Disk…’
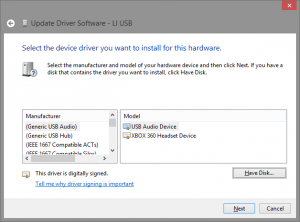
On the popup box, press Browse…
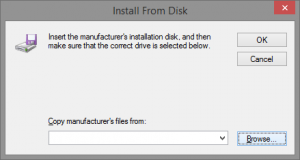
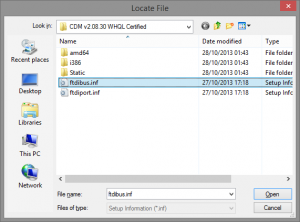
Navigate to the place where you extracted the files, windows will show 2 potential inf files, choose the ftdibus.inf and press Open.
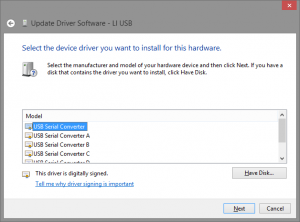
The next box will list all the drivers in that inf file, choose ‘USB Serial Converter’ this should be the top one in the list, and doesn’t have any letters at the end (not A,B or C etc). Press Next.
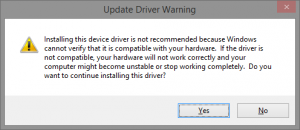
Windows will display a warning about the driver not being recommended. This is because the hardware ID on the LI-USB is set different to the FTDI driver file, its safe to continue so press Yes.
Windows should then install the driver, and show the following message, press close to exit.
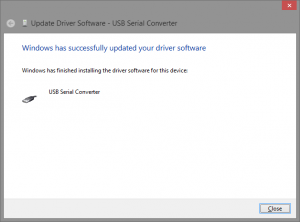
The LI-USB will get renamed to USB Serial Converter, and should show as working properly, as below.
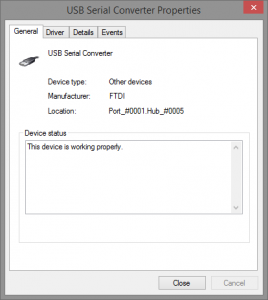
Step 5 – Driver Install Part 2
Your device manager should now update and now show a USB Serial Port as having a problem (it has no driver) as below:
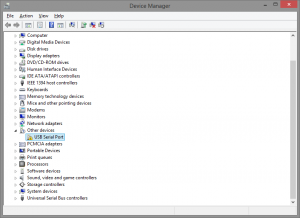
Open the properties by double clicking on the USB Serial Port and click update driver.
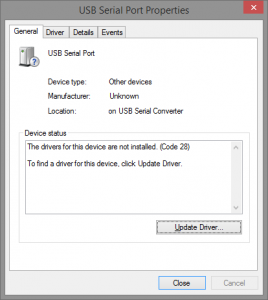
Choose Browse my computer for driver software.
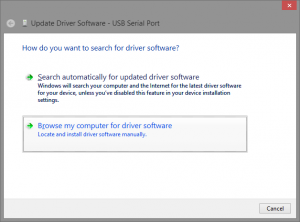
Choose Let me pick from a list…
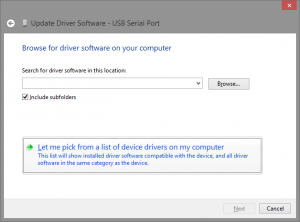
Choose Show All Devices and press Next.
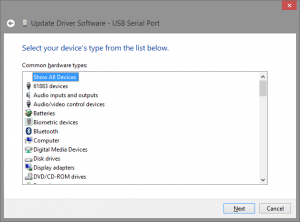
Windows will then list all of its drivers it has, ignore those and press ‘Have Disk…’
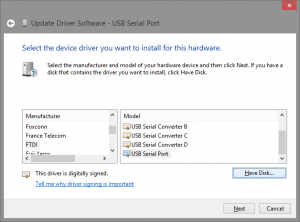
On the popup box, press Browse…

Navigate to the place where you extracted the files, windows will show 2 potential inf files, choose the ftdibus.inf and press Open.

The next box will list all the drivers in that inf file, choose ‘USB Serial Port’ this should be at the bottom of the list, and might be selected already. Press Next.
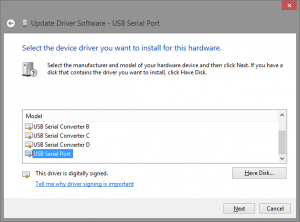
Windows will display a warning about the driver not being recommended. This is because the hardware ID on the LI-USB is set different to the FTDI driver file, its safe to continue so press Yes.

Windows should then install the driver, and show the following message, press close to exit.
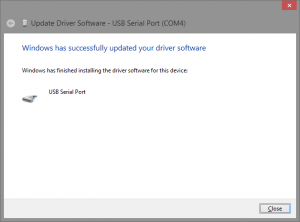
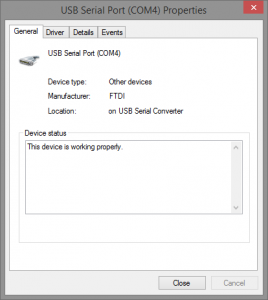
The USB Serial Port will get renamed to USB Serial Port (COM #) where # will be the number, remember this as you will need it for the JMRI settings later. It should show as working properly, as below.
The lights for USB (green) and Xpressnet (red) should now be lit on your LIUSB hardware.
Step 6 – Download and install Java
JAVA can be downloaded from here.
Step 7 – Download and install JMRI
JRMI can be downloaded from here.
Step 8 – Configure JMRI
Once installed, start the JMRI Panel Pro. When it opens, it should display the preferences box as below.
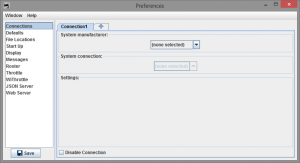
Choose Lenz for the System manufacturer, Lenze LIUSB for the System connection, and enter the port number from step 5 (COM#). Press Save.
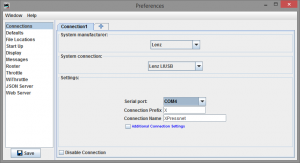
JRMI will then offer to restart PanelPro, choose Restart.

Step 9 – Test & Wagons Roll
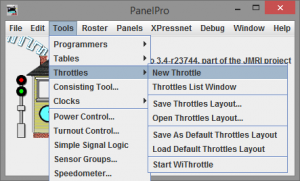
From the Tools menu, choose Throttles then New Throttle.
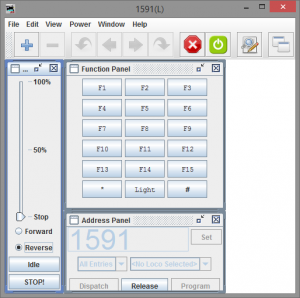
When the Throttle box opens, type in the number of the Loco / Engine into the address panel on the bottom right and press set.
Note – On this picture you may notice the power button on the top is red, this will depend on if your track power is on or not. If track power is off, (red) press the button to turn it on.
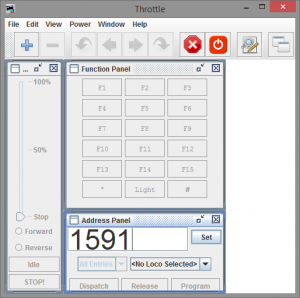
The throttle should now look something like the one below. Try moving the Loco by using the slider on the left, change direction with the forward/reverse settings or try the lights / sounds etc by pressing the function buttons. If nothing happens, check all the connections on your hardware and or reboot the machine. Also make sure you typed in the right address for the loco that’s on the track!
