
Today I leave on a flight to Orlando, Florida where I will be meeting up with a friend before embarking on a road trip up the east coast of the US and up into Canada over to Nova Scotia. Actually I’m writing this after the event, as I didn’t actually have time to pack properly, let alone write the post, but nevermind that. This is the shortest notice of a trip I have done todate, with only 2 weeks between the first mention of the idea and actually going! It started out as an invitation to visit my friend’s new place in Nova Scotia, but then I had the opportunity to fly out earlier and join the trip up from Florida. The time was so short that I didn’t even have time to fix the minor issues with my new laptop, and so ended up taking my 5 year old Vaio. As I couldn’t get my new laptop to play nice, I grabbed a spare SSD (which I normally use for video recording) and dropped that into my old vaio. The newer Vaio has a different type of SSD, and its an ultrabook, so it wasn’t practical to swap out the drive, where as the older model is only 6 screws or so. As I was worried about the airport security scrutinising my laptop and the risk of it saying it was unlicensed (as it was a re-install on a new drive and I didn’t have time to sort that out) I had to quickly go buy a retail copy of windows, I ended up with Windows 10 Pro (which I didn’t really want but its all they had) and I got that finished mere hours before running out the door for my flight. My packing was the worst and most unplanned ever, and forgot several items I really should of thought about, but I can get replacements in the US later. I hope to be able to get some photos and maybe some videos while out there, including some US or Canadian trains, but will have to see what happens there. I also still need to edit and upload the layout update ‘Weekend Engineering 4’ which I filmed before leaving, that should be fun with a core 2 duo, how I wish I had my i7 ultrabook with me….
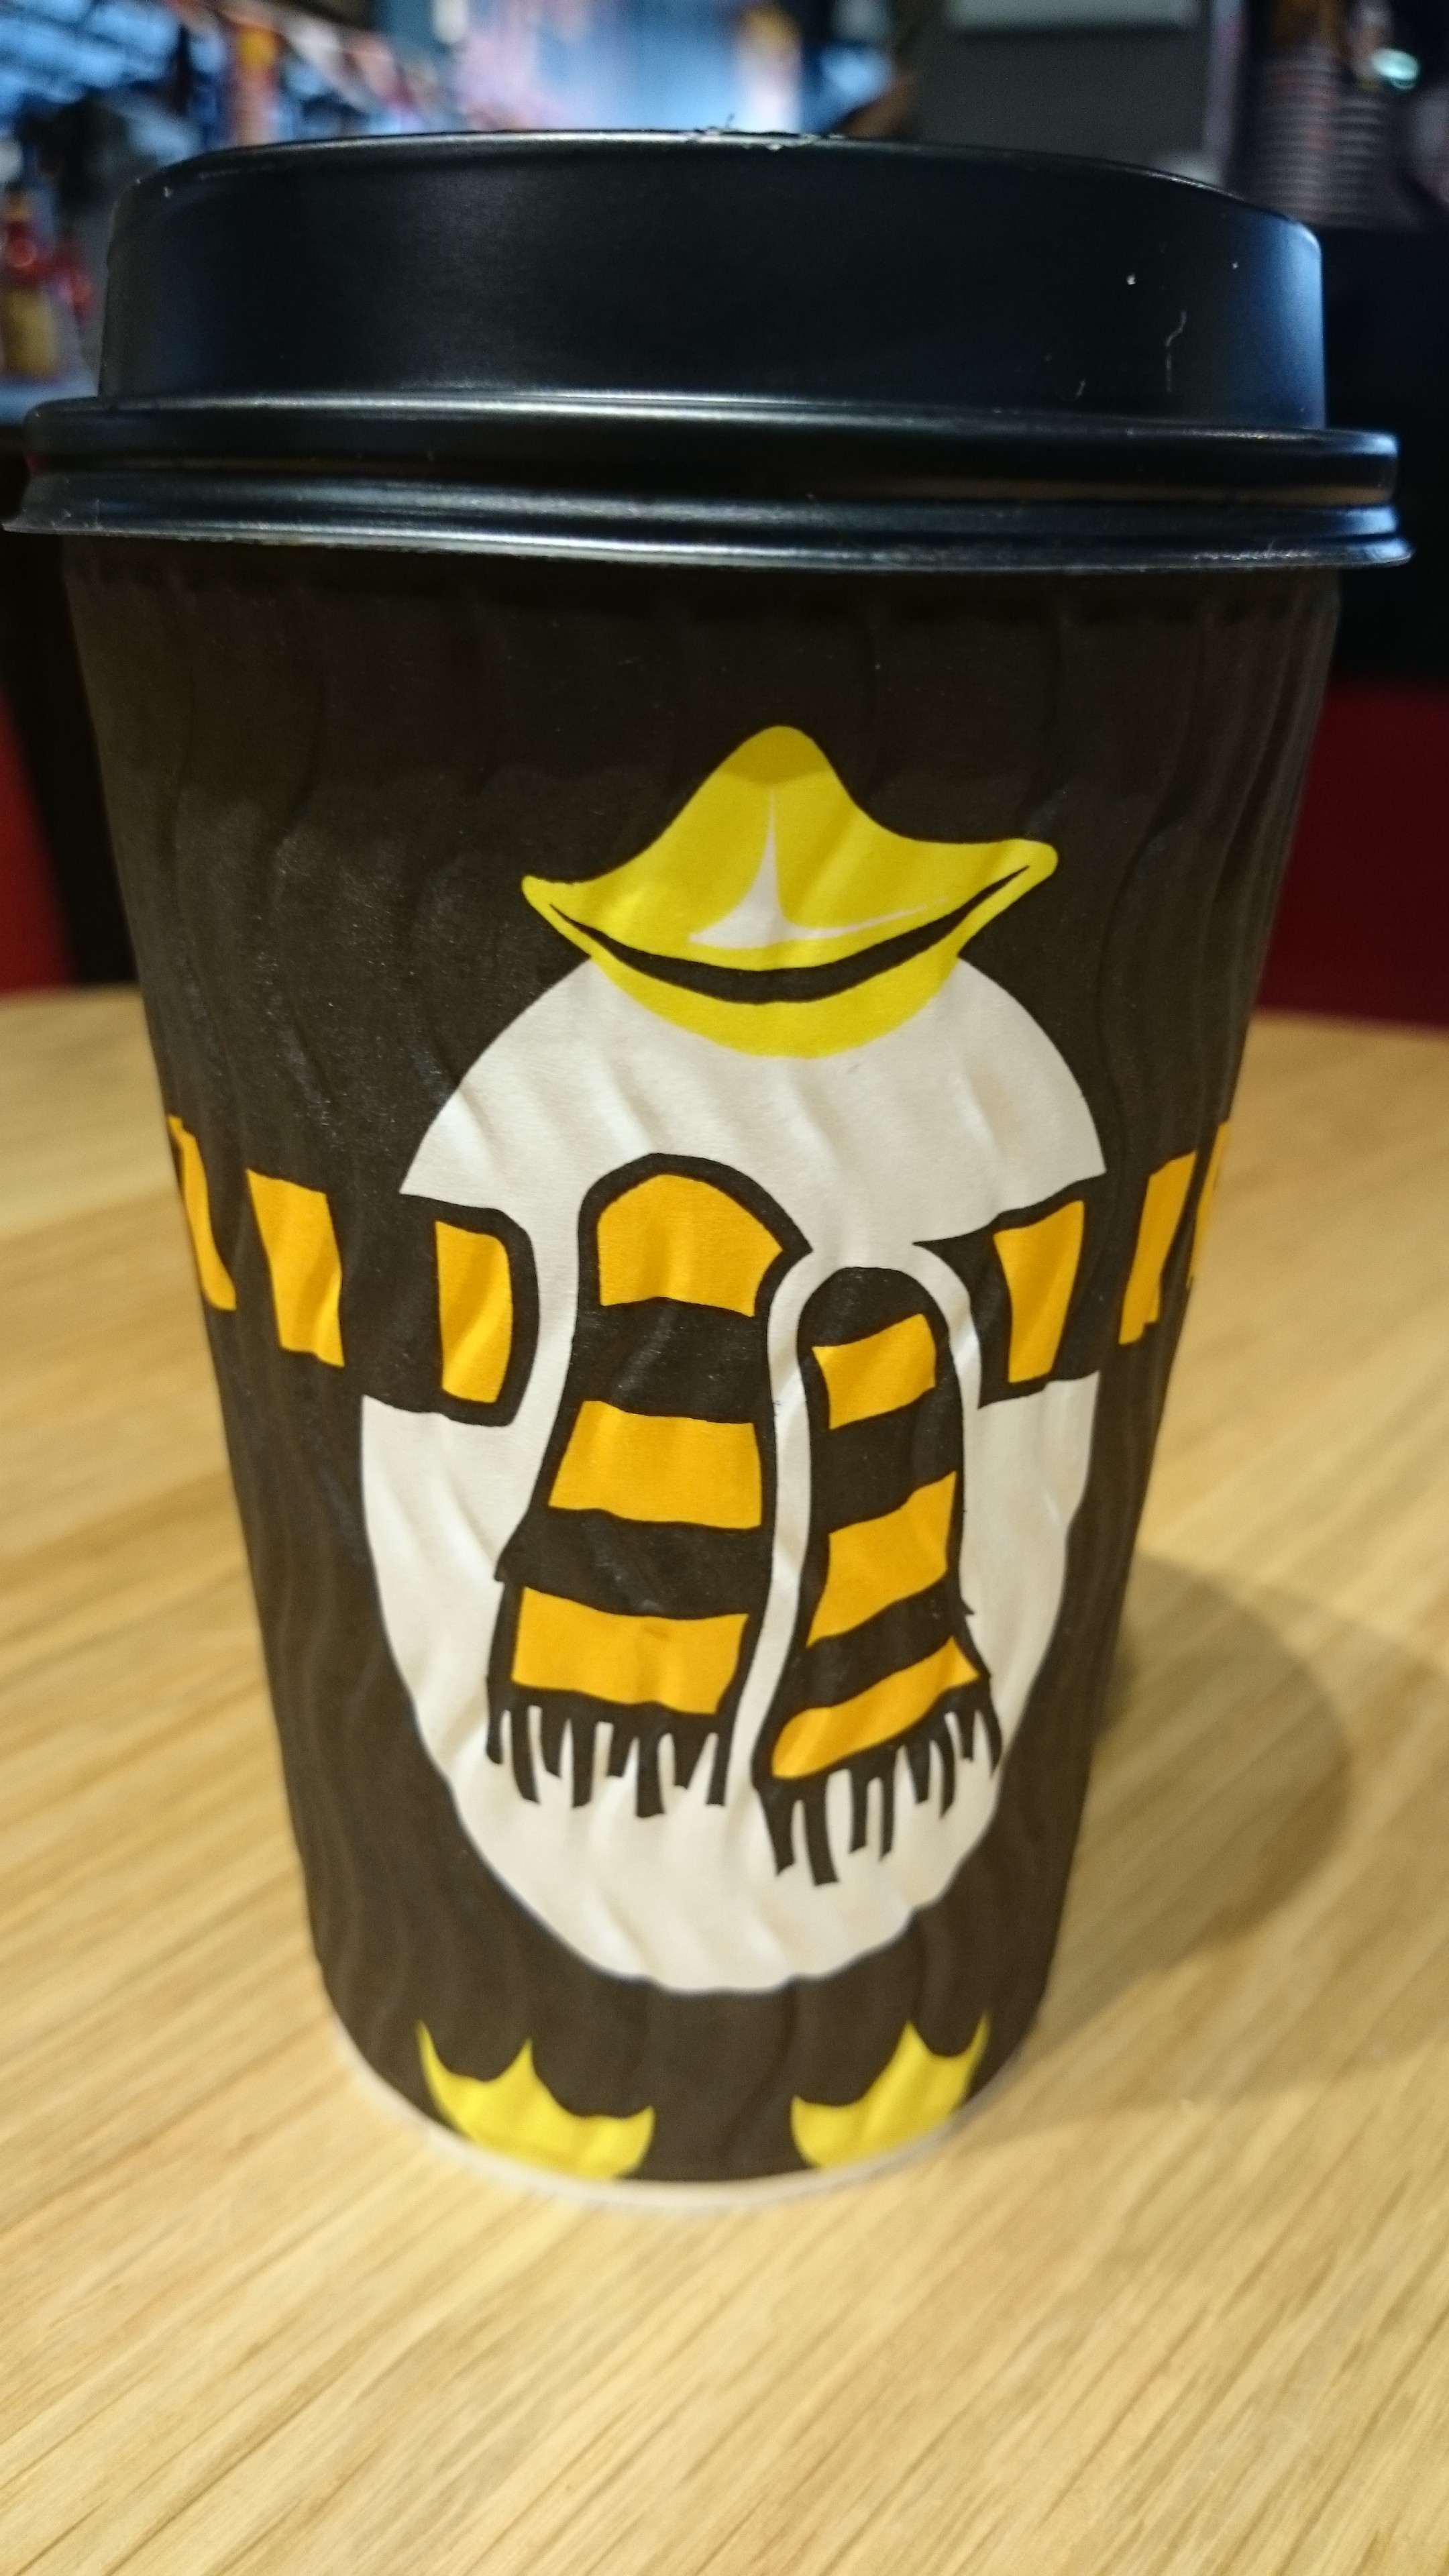 Time for a quick coffee before my flight, in a very nice and cute penguin cup.


